
How to Use Flip Top Vial Seals and Rubber Stoppers

How to Use Flip Top Vial Seals and Rubber Stoppers
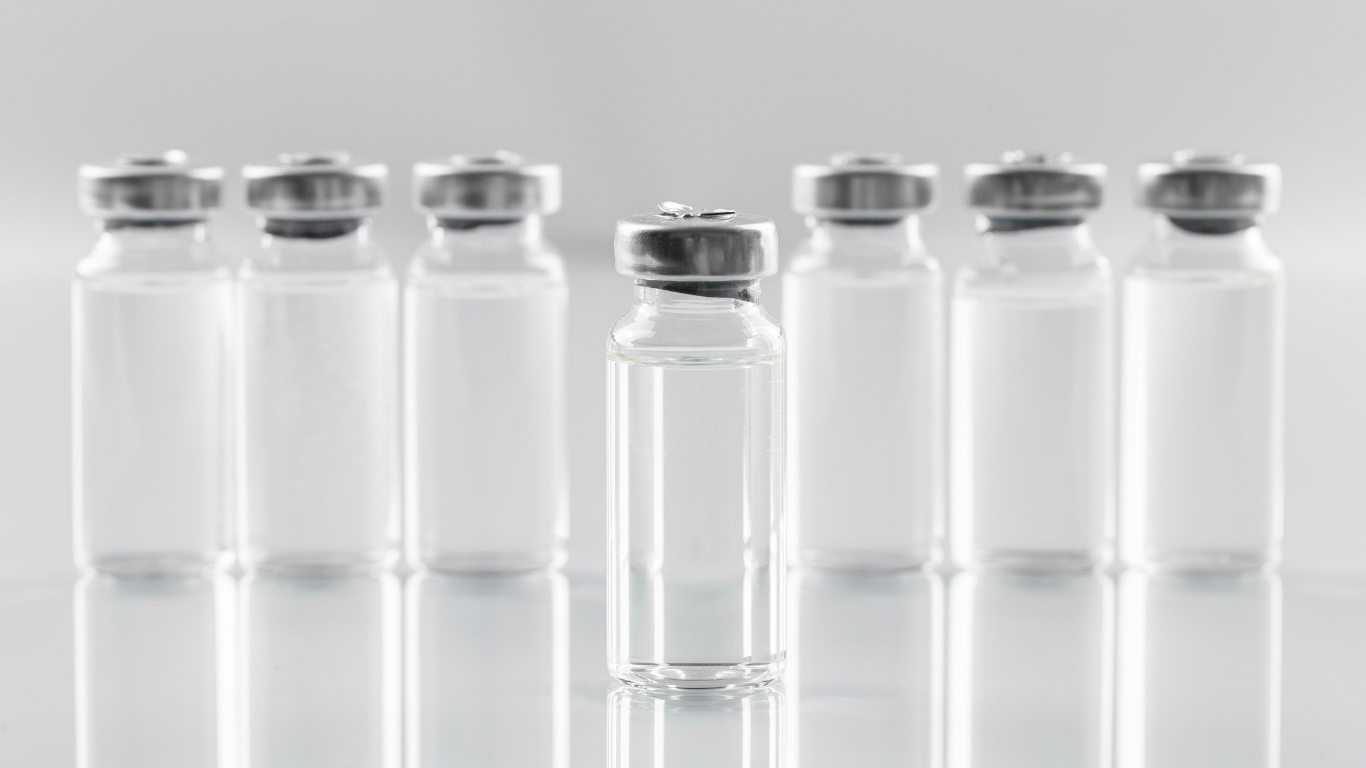
Flip top vial seals are one of the simplest tools in a research lab, but they’re also one of the easiest to get wrong. Used correctly, they keep your vials sterile, secure, and easy to access. Used incorrectly, they can crack under pressure or fail to seal at all. This guide walks through exactly how to use flip top vial seals and rubber stoppers, so every vial in your lab stays protected.
Why Flip Top Vial Seals Matter
Flip top seals go by a few names: open top seals, flip-off caps, and tear-off seals. They all mean the same 20mm aluminum-plastic cap that snaps over a rubber stopper. A flip top seal does two jobs at once. First, it locks a rubber stopper in place so nothing leaks or contaminates the vial. Second, it gives you quick access without a crimper every time you need the contents. Because of this, flip top seals are the go-to choice for labs that open and close vials often. However, they only work well when paired with the right stopper size and applied with the correct technique.
What You Need Before You Start
Gather your supplies first. You’ll need clean glass vials, rubber injection stoppers sized to match your vial neck, and matching flip top seals. Make sure your workspace is sanitized before you begin. In fact, most sealing failures trace back to mismatched stopper and seal sizes, not the sealing process itself. So double-check your part numbers before you open a single package.
Step-by-Step: Sealing a Vial with a Flip Top Seal
Start by inserting the rubber stopper into the vial neck. Press down firmly and evenly until it sits flush with the rim. Next, center the flip top seal over the stopper and vial neck. Push down until you hear or feel it snap into place. Finally, check the seal by gently tugging the edges. It should not lift or shift.
Test the seal before storage. A properly sealed vial will hold the stopper tightly with no visible gaps. If the seal feels loose, remove it and start again with a fresh cap. Reusing a stretched or damaged seal is not worth the risk to your sample.
Common Mistakes to Avoid
Even experienced lab staff run into a few recurring problems. Here are the ones to watch for:
- Using the wrong stopper size. A stopper that’s too small won’t seal properly, no matter how tight the flip top cap is.
- Skipping the flush check. If the stopper doesn’t sit flush before sealing, the vial can leak later.
- Reusing damaged seals. Once a flip top seal has been removed, it loses some of its grip. Always use a new one for long-term storage.
- Rushing the press step. Applying uneven pressure can crack glass vials, especially with thinner-walled 10ml sizes.
Avoiding these mistakes takes seconds, but it saves samples, time, and money.
Choosing the Right Rubber Stopper
Not all stoppers are built the same. Some are designed for single-use injection access, while others hold up to repeated needle punctures without breaking down. If your lab draws from the same vial multiple times, choose a stopper rated for repeated use. Meanwhile, single-draw applications can use a lighter-duty stopper without issue. Either way, match the stopper material to what’s stored inside, since some solvents degrade certain rubber compounds faster than others.
Stock Up on the Right Parts
Getting a clean seal starts with getting the right parts. Easy Labz carries glass vials with matching flip caps and rubber stoppers sized correctly out of the box, so you’re not left guessing on fit. If you need stoppers separately, our 20mm rubber stoppers are sold to match standard vial necks used across most research setups.
Need seals on their own? Browse the full 20mm flip top vial seals range. Seals come in red, blue, green, yellow, grey, and black, so you can color-code batches. For a tight, repeatable seal, pair them with the 20mm flip vial crimper.
Final Thoughts
Flip top vial seals are simple once you know the process. Match your parts, press firmly, and check every seal before storage. As a result, you’ll cut down on leaks, contamination, and wasted samples. Small habits like these add up to a more reliable lab, one vial at a time.
Share this blog:
More Articles You Might Like

The Essential Guide to Syringes and Needles: History, Uses, Materials, and Benefits
Syringes and needles are fundamental